Installation guide
Plan the visible and the hidden.
Atelier needs space for the dispenser and its nearby service equipment. Monolith needs a matching mount, structural support and access to the head. Use this guide to prepare the conversation with your designer and installer.
Atelier installation
The dispenser is one part of the system.
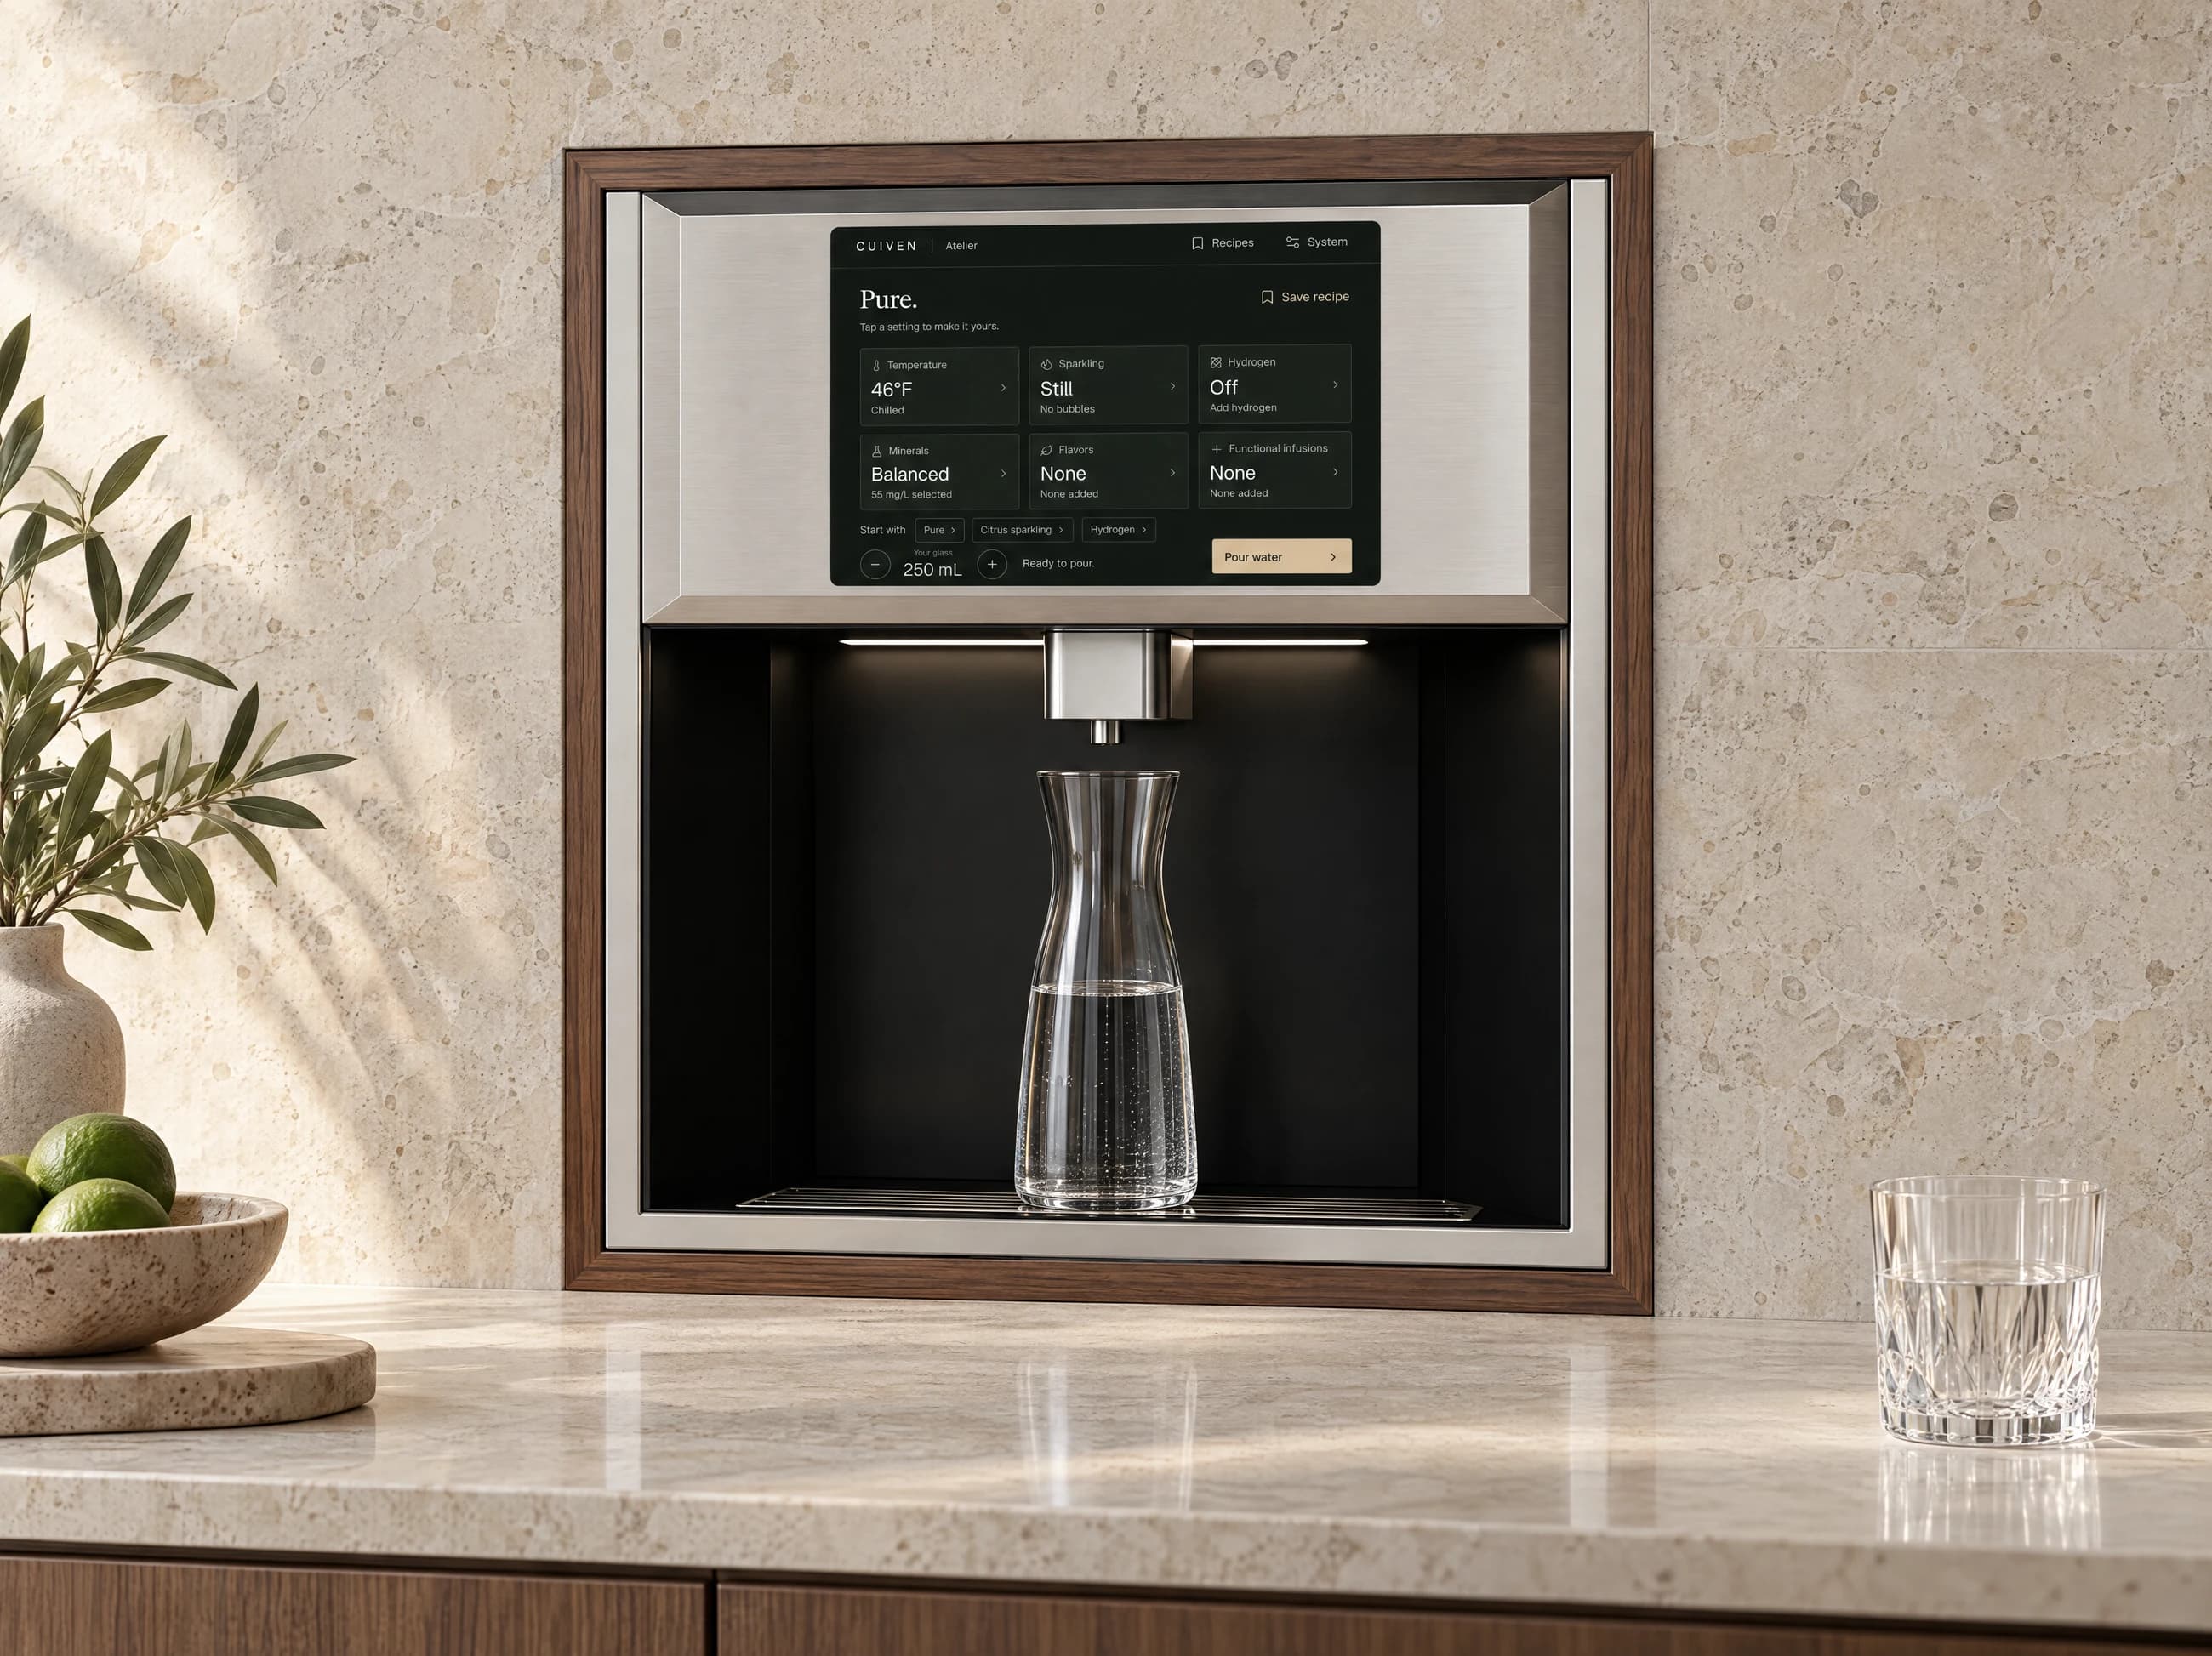
The visible unit holds the screen and dispensing area. Nearby cabinetry houses the equipment for water treatment, heating, chilling, carbonation and ingredients. Include both parts in the kitchen plan.
Built-In fits into a suitable cabinet opening. Countertop sits on the work surface. Both connect to permanent water supply and drainage, so daily use does not involve carrying a water reservoir to the sink.
- At the dispenser
- Choose a comfortable screen height and an unobstructed approach to the outlet. Consider the glasses, bottles and carafes you use, along with space to wipe the dispensing area.
- In the service cabinet
- Reserve accessible space for the equipment and supplies. Keep the cabinet reachable after adjoining drawers, doors and appliances are installed.
- Between the two
- Coordinate water, drainage and power routes with the cabinetry. Ventilation and maintenance access need to remain clear when the cabinet is in everyday use.
Scroll the diagram to compare both formats.

Kitchen & cabinetry
Start with the opening, counter and service access.
A cabinet-integrated dispenser and a countertop dispenser use the room differently. Choose the format before placing utility routes or allocating the service cabinet.
Built-In and Built-In Signature provide a taller, roomier dispensing bay than the Countertop models. Whether integrated into cabinetry or a wall opening, the extra clearance makes room for larger bottles, carafes and pitchers. Plan the installed height and approach around the containers you use.
| Check | Built-In | Countertop |
|---|---|---|
| Visible position | Reserve a suitable cabinet opening and choose the finished height of the screen and outlet. | Choose counter space with a comfortable approach, space above the unit and room for cleaning. |
| Cabinet work | Coordinate the opening, support, surrounding panels and access for installation. | Coordinate utility routes through the work surface or adjoining cabinetry with the installer. |
| Container clearance | Greater outlet clearance and a larger dispensing bay. Leave the full opening clear for inserting and lifting out bottles, carafes and pitchers, including their handles. | Compact dispensing bay. Check the height and width of everyday glasses and bottles, including the space needed to place and remove them. |
| Service space | Keep a nearby equipment cabinet accessible from the front. | Keep a nearby equipment cabinet accessible from the front. |
| Connections | Plan permanent water supply, drainage, power and ventilation. | Plan permanent water supply, drainage, power and ventilation. |
| Adjacent appliances | Check door swings, drawers, work zones and service routes together. | Check splash zones, adjoining appliances, overhead cabinets and preparation space. |
| Project information | Share cabinet elevations, opening measurements and the intended service location. | Share worktop measurements, photographs and the intended service location. |

Keep the service cabinet useful for service.
Plan equipment access before the cabinet becomes general storage. Check that the door opens fully, supplies can be removed and the water connection is reachable. Keep fixed shelves and stored objects clear of ventilation paths.
Monolith installation
Plan the head and mount as one assembly.
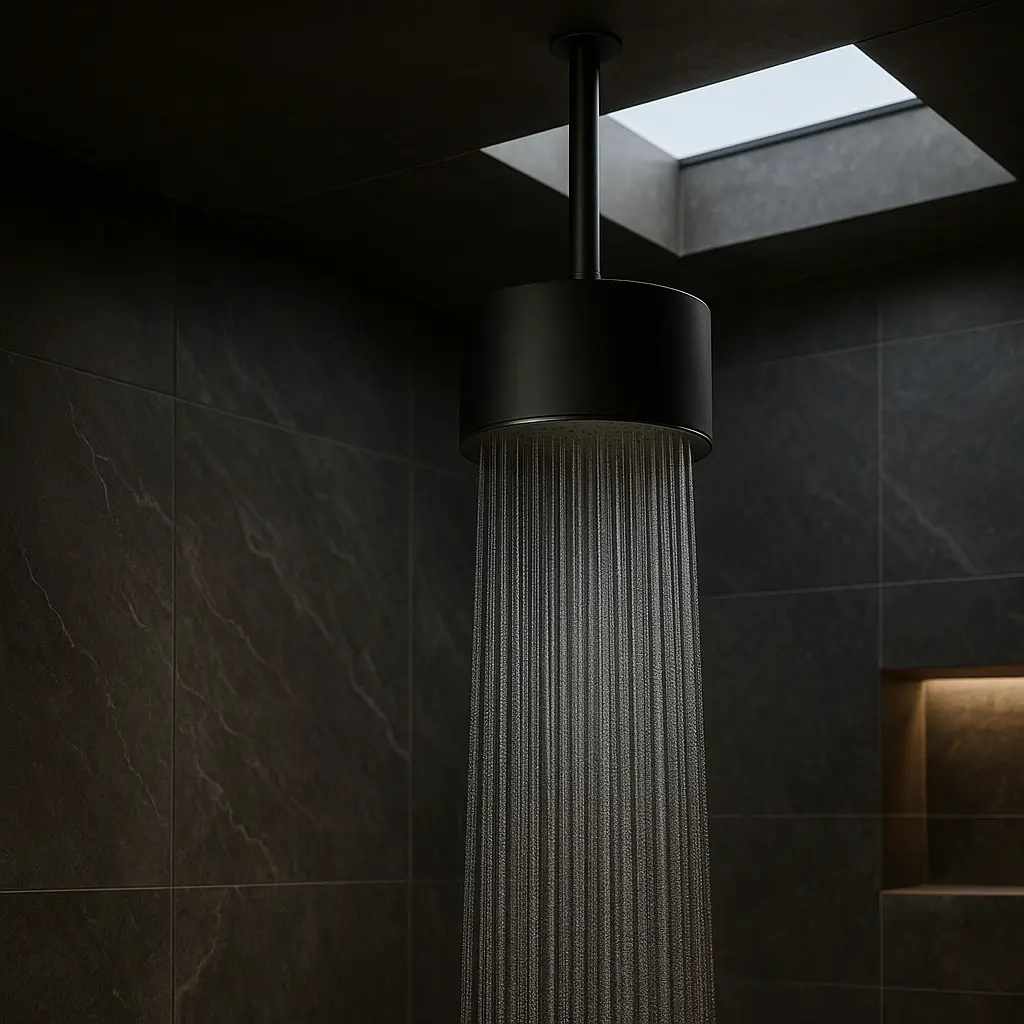
Monolith combines the rainfall head and filtration housing in a tall cylinder. The mounting choice determines the head position, water route and supporting structure.
Use the matching bent wall arm for a connection through the wall, or the direct ceiling mount for an overhead connection. Have the installer review the complete assembly and the structure behind the finished surface.

| Planning detail | What to record | Why it matters |
|---|---|---|
| Standing area | The enclosure layout, ceiling height and intended head position. | Align the rainfall face with the usable showering area. |
| Water supply | The connection location and any changes planned by the installer. | Wall and ceiling mounts use different supply routes. |
| Structural support | The mounting location and the structure available behind it. | The head and mounting assembly need support together. |
| Enclosure & fittings | Glass position, doors, controls, lighting and shelves. | Allow clearance for everyday use and access to the head. |
| Cartridge access | How the housing will be reached and supported for service. | Access must remain practical after the shower is finished. |
| Finish coordination | The controls, face finish, enclosure frame and nearby metalwork. | Compare visible finishes together under the room’s lighting. |
From selection to installation
Coordinate the work before it reaches the site.
Use a single project record for the product selection, drawings, connection locations and people involved. Keep the cabinetmaker, installer and homeowner working from the same information.
- Select the system and format
- Choose Atelier Built-In or Countertop, or the preferred Monolith mount. Include the edition and finish preferences in the project enquiry.
- Share the site information
- Provide the location, layout, photographs and schedule. Identify the cabinetmaker or installer who will coordinate openings, utilities and support.
- Coordinate the installation documents
- Use the installation documents for the selected product to coordinate the opening, connection routes, support and clearances before site work begins.
- Record the handover
- Keep product identification, installation information, care instructions and replacement-supply references together. Show the people using the system its controls and service access.
Project checklist
Prepare your installation enquiry.
Gather the details that apply to your project. Include a description or links to drawings in the enquiry form.