
Journal / Installation
Planning a Monolith installation
Choose a ceiling or wall mount, then plan support, connections and cartridge access.
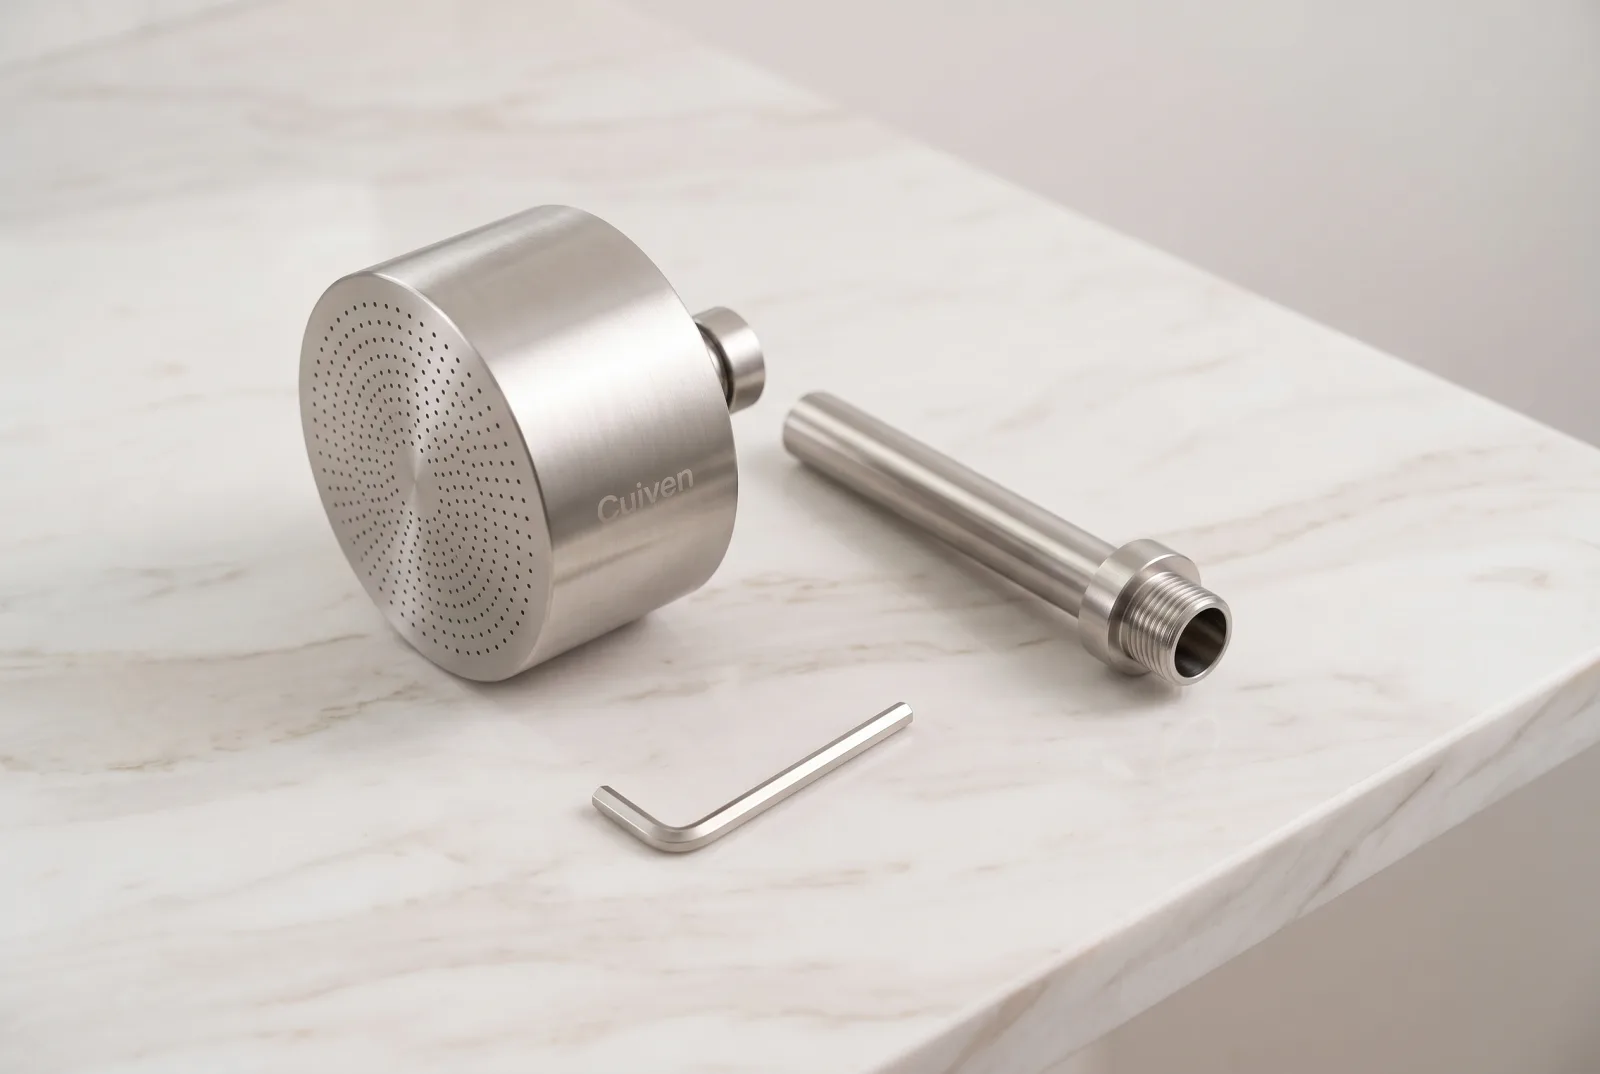
Choose a ceiling or wall mount.
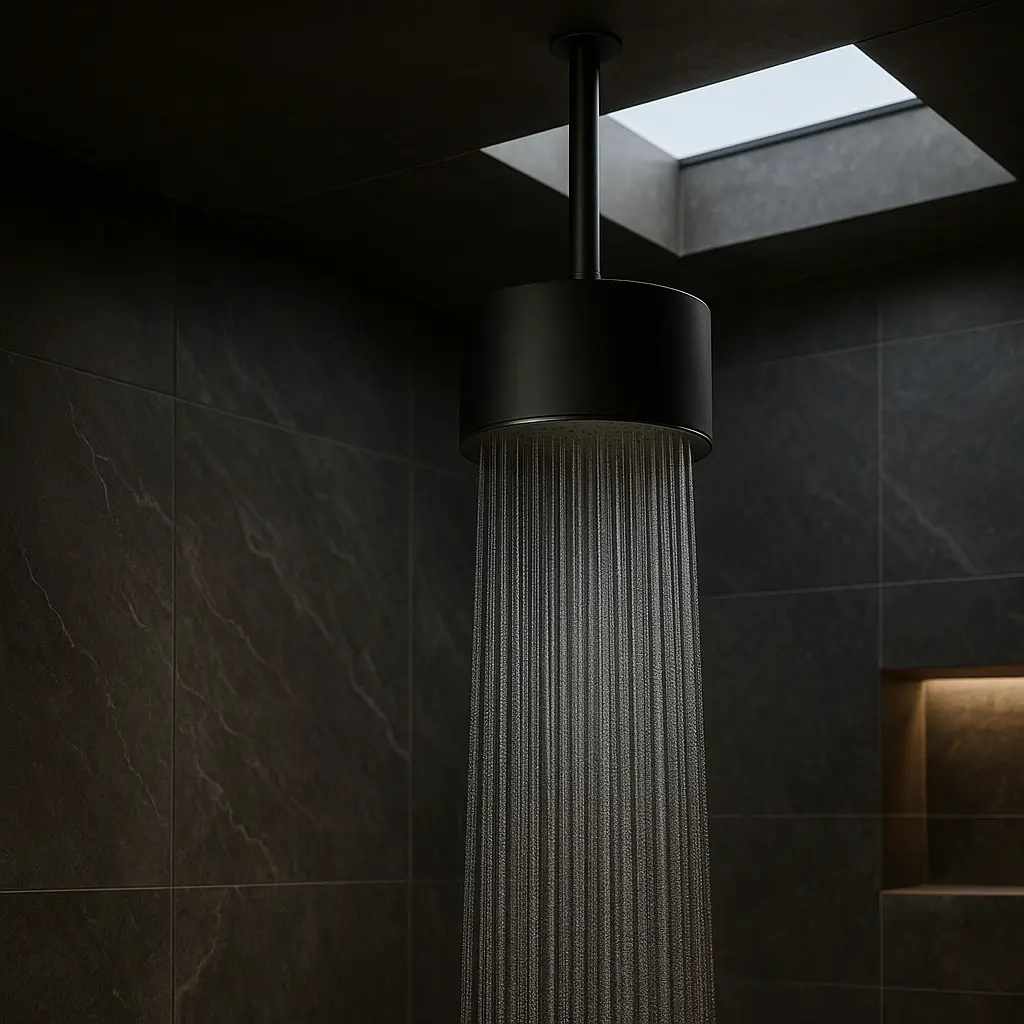
Monolith combines rainfall and filtration in a tall cylinder. It attaches to a ceiling mount or a purpose-built bent wall arm.
Choose the mounting assembly with your installer. Follow the model-specific support and connection requirements when assessing the room.
A wall arm changes the support arrangement.
A wall-mounted head projects away from its fixing point. The arm, connection and support therefore work as an assembly. A ceiling installation carries the head from above. Choose the arrangement around the shower’s layout and its supporting structure.
Share the intended head position and the distance from the wall with your installer. Include access for installation and cartridge changes before closing walls or ceilings.
Give each trade the information they need.
| Project detail | Coordinate with |
|---|---|
| Position and clearance | The designer: head location, user space and surrounding fittings. |
| Water connection | The plumber: supply route, isolation and the required connections. |
| Mounting support | The installer and structural trade: support location and fixing requirements. |
| Finish and access | The builder: openings, finished surfaces and future service access. |
Keep a record before the finishes close.
Photograph the support and connection routes while they are accessible. Keep the installation drawings, selected mount and product references in the same folder.
At handover, record where the water is isolated, how the cartridge is accessed and which parts must be used for replacement. That record should stay with the home, including when an installer or owner changes.
Plan the whole installation.
Include these details in the shower plan before finishes are installed. Use the model-specific installation drawings for dimensions, supports and connection positions.
- The ceiling or wall structure and mounting support.
- Showerhead position, user clearance and the reach of the arm.
- Access to connections and concealed fixing points.
- A clear route for cartridge replacement and cleaning.
- The product’s plumbing and operating requirements.
Allow space for maintenance.
Keep enough space to reach the rainfall face, clean the cylinder and follow the cartridge replacement procedure.
Plan access to the water shutoff with the installer, and keep the installation and care documents together.
Share your installation details.
Send CUIVEN the city, project stage, preferred mounting direction and bathroom drawings or photographs. For a renovation, include the existing showerhead position and the changes planned for the room.